- You are here:
- Home
- Support
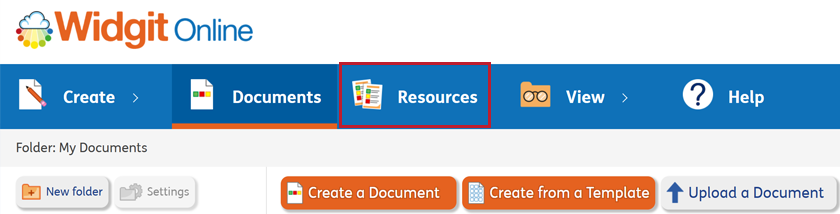
- Widgit Online
- Borders
Borders
Bring structure, style and clarity to your resources
Borders is a powerful new feature in Widgit Online that gives you more flexibility and creative control. From pages and paragraphs to individual symbols, you can now stylise your resources your way. Whether you’re creating quizzes, recipes, or a Story to Help, simply highlight and click to bring your creations to life.
Style your documents in new ways
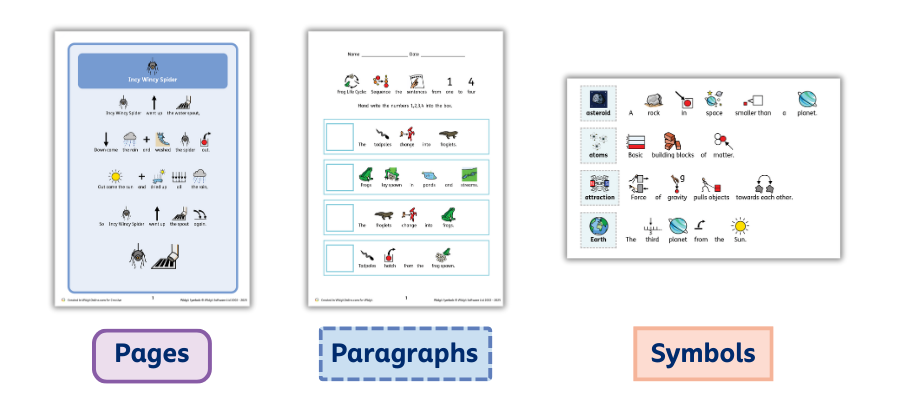
Using the Borders feature, you can frame and define your work with Page borders, highlight and organise sections with Paragraph borders, and make individual symbols stand out with Symbol borders.
Borders and Beyond
To enhance the use of Borders in Widgit Online, our Borders Pack comes with customisable Presets and Examples to inspire your designs.
Border Presets - From Cut and Stick to Sentence Strips, explore editable documents with Borders that are ready to customise, with over 15 to choose from.
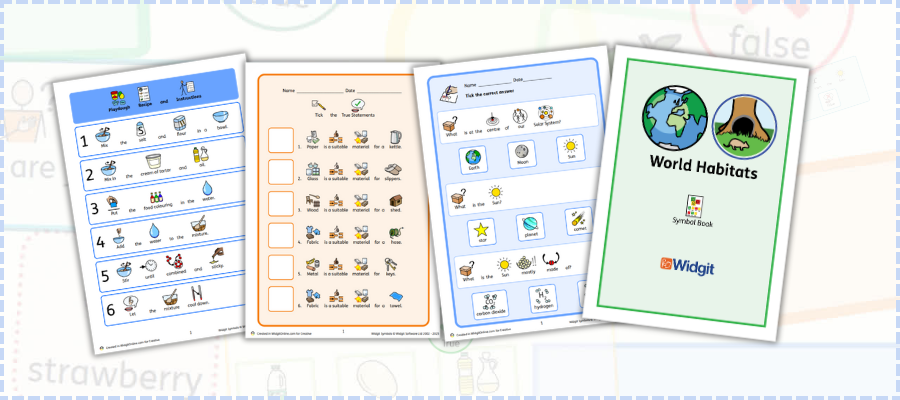
Border Examples - From our World Habitats Book to our Solar System Glossary, discover pre-populated designs offering inspiration and suggested layouts, with over 15 to choose from.
FAQs
-
 Is the Borders feature included with my subscription?
Yes. The Borders feature is included with all subscriptions of Widgit Online.
If you do not have a subscription, you can try Widgit Online free for 30 days. Your free account includes access to the Borders feature as well as over 100,000 Widgit Symbols, over 2 million child-friendly, high quality stock images and 100s of easy-to-use templates.
You can view our subscription tiers and purchase a plan to meet your needs here.
-
How do I use Borders?
Borders can only be used within the document editor – not templates. To create a new blank document click on the Create a Document button.
1. To begin using Borders in your document, click the Borders tab on the top of your document
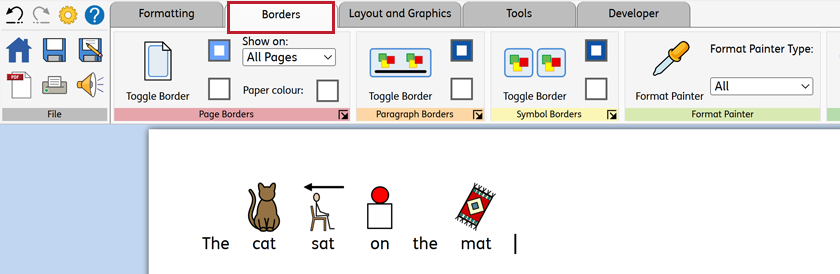
2. You can enable the Border on your document, paragraph or word by clicking the Toggle Border button. This will apply the Border to where your cursor is located.

3. Once a Border has been applied to the document, you can change the border colour and background colour with the change colour buttons.

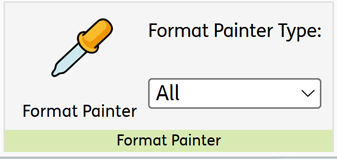
4. If you want to reuse the same Border style in a different part of your document, you can copy the Border to another part of the document using the Format Painter.
-
How do I install the Borders Presets and Examples?
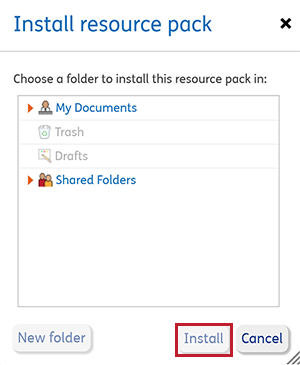
The Borders Pack comes with customisable Presets and Examples to inspire your designs, it can be installed from the Resources section of your account.
To add the pack to your account, click the Install resource pack button.

You will then be asked where you would like to install the Borders Pack, You can choose My Documents or Shared Folders (If you have a group account). After selecting an install location click Install to add the pack.
After installing the Borders Pack you will find two folders added to your selected location, along with an info sheet:
Border Presets - Contains presets from Cut and Stick to Sentence Strips, explore editable documents with Borders that are ready to customise, with over 15 to choose from.
Ensure you make a copy of each Preset before adding your own content, so you always have a blank Preset to return to.
Border Examples - Contains examples from our World Habitats Book to our Solar System Glossary, discover pre-populated designs offering inspiration and suggested layouts, with over 15 to choose from.
-
What styling changes can I make?
Borders have a default style which can be altered using the Border settings for each type of Border:
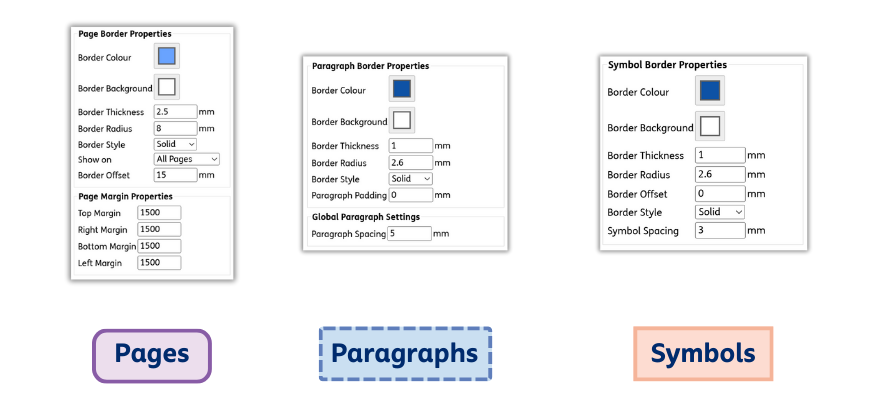
 Borders Settings
A full guide detailing what styling changes you can make for each Border type.
Get started today - Try Widgit Online free for 30 days
The Borders feature is included with all subscriptions of Widgit Online. If you already have an account, you can log in an start creating documents with borders.
If you do not have an account, you can try Widgit Online free for 30 days. Create visual, communication and learning supports in your web browser using over 100,000 Widgit Symbols, access to over 2 million child-friendly, high quality stock images and 100s of easy-to-use templates.
- Save time, easy to create, edit, re-use - Quickly create and update editable materials with symbols.
- Use 100s of templates - Save time and use general pre-formatted templates.
- Personalised - Use your own photographs or web images to meet an individual child’s specific needs.
- Inclusive - Change skin tones to support more inclusive representation.
- Use online or as printed resources - Use on iPad or other devices or as printed materials.
- Support EAL and MFL teaching - Choose to translate from more than 80 languages.
 New to Widgit?